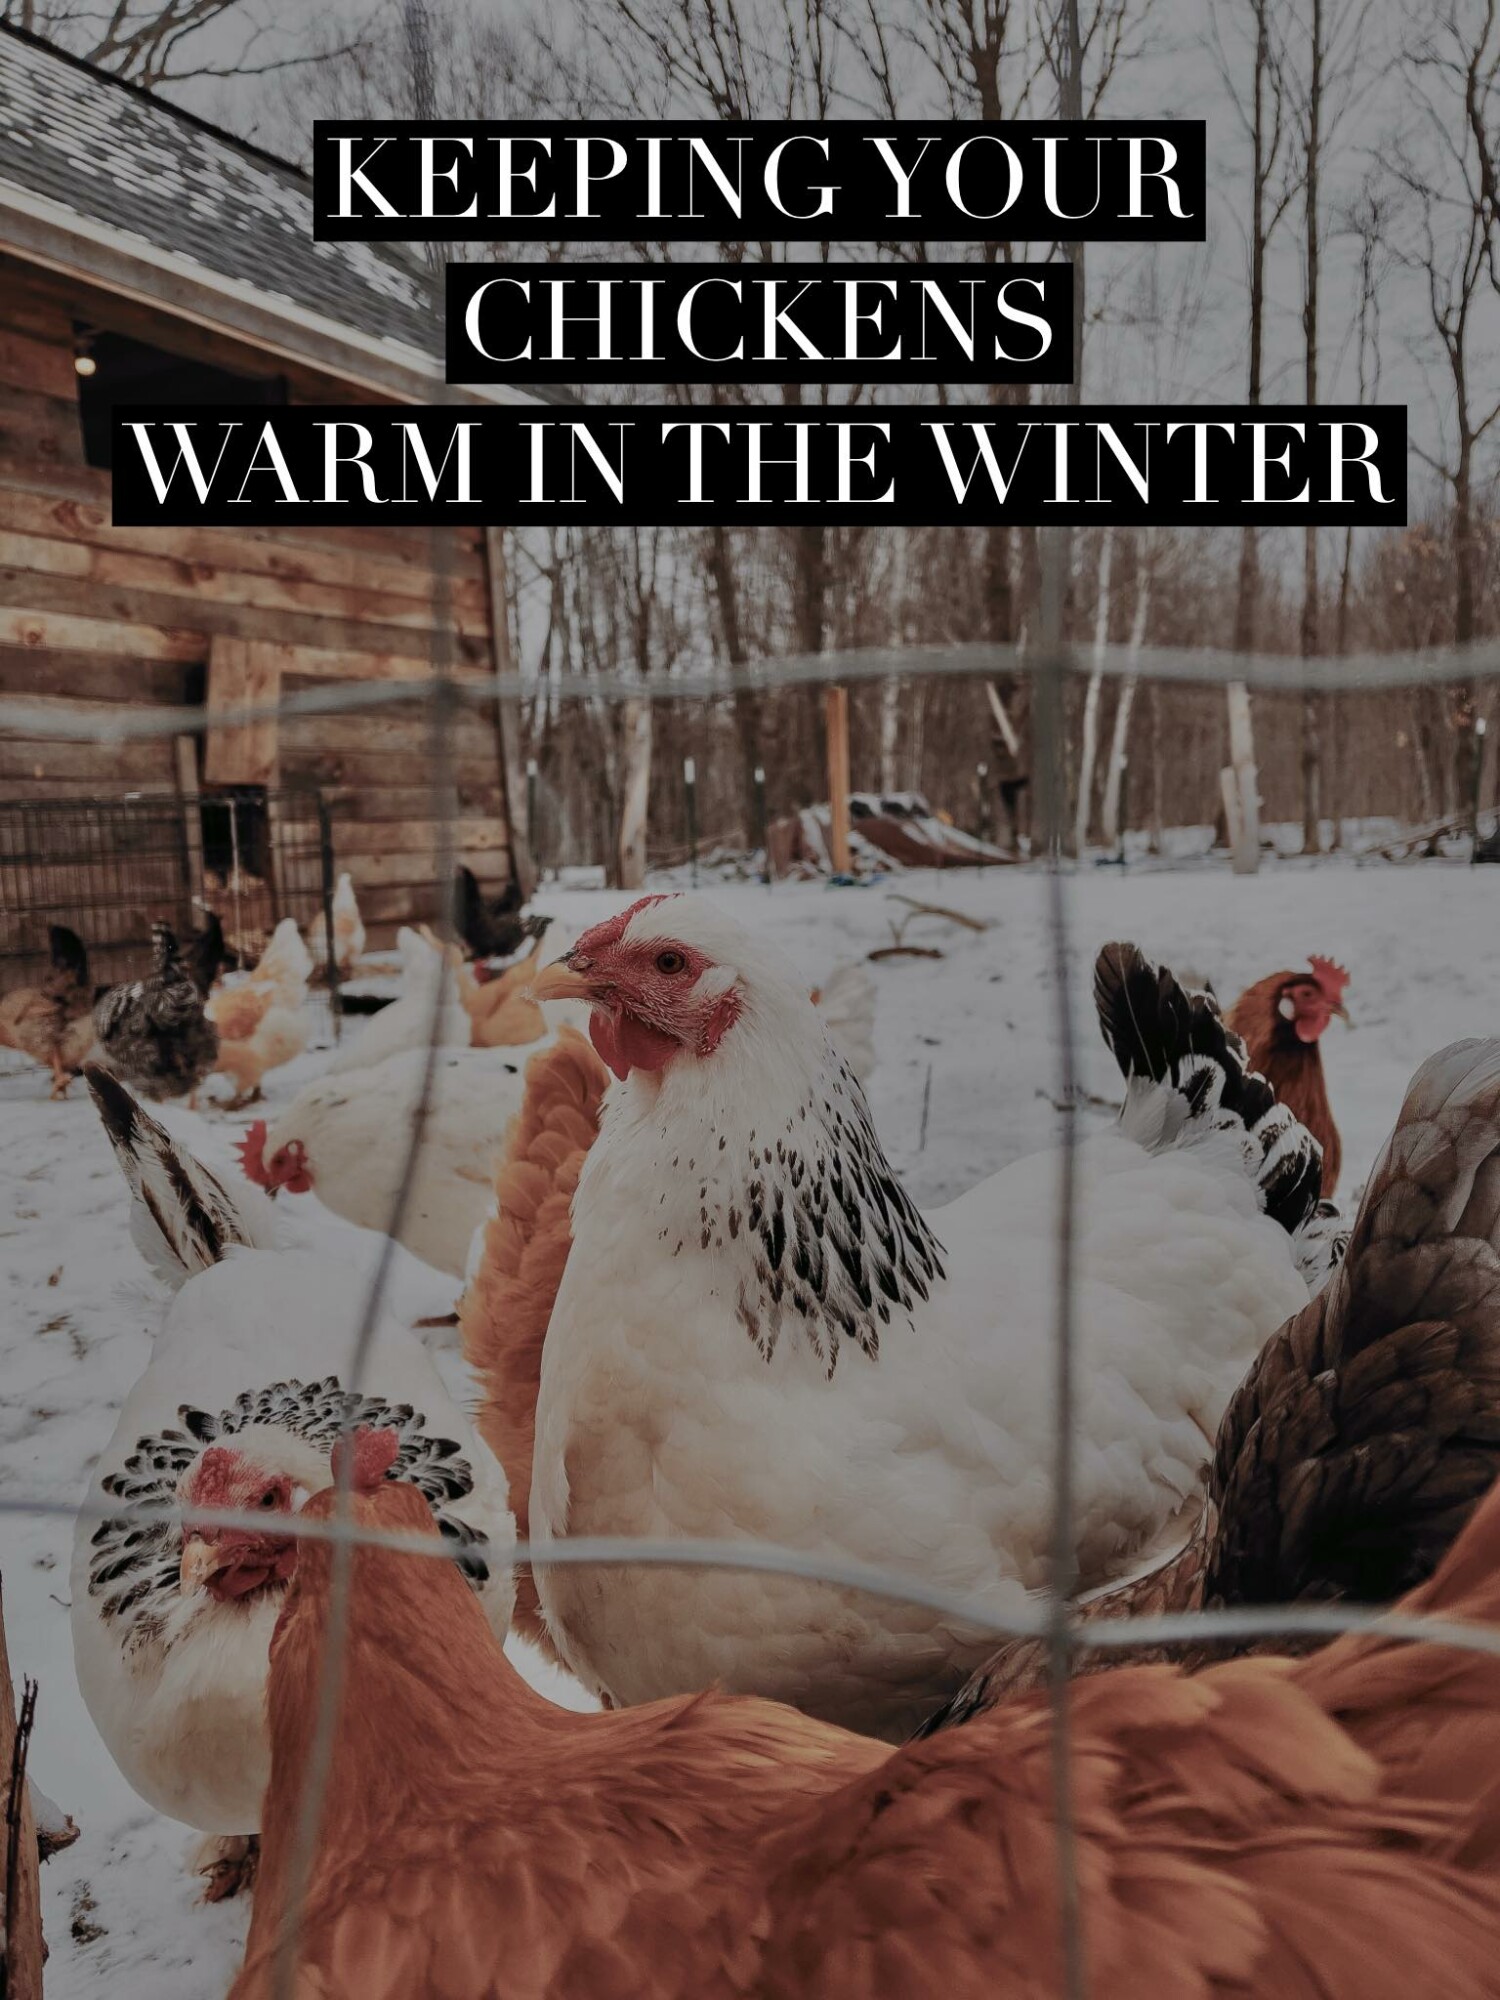
I get a lot of questions about winterizing our animals and how we go about that. The biggest question is if we use heat lamps and typically we do not (unless we have a lamb born in the freezing temps, then we will for a couple of days). Our chickens typically don't get heat lamps for a number of reasons that we'll discuss in this post. I will say that you must make sure you are getting birds that are good for your environment. In our extreme cold, we have to make sure that we have very hearty chickens! We like to stick with Rhode Island Reds, Isa Browns, Plymouth Rocks and this year have a few leghorns, austrolorps and a couple Jersey Giants. We stay away from the smaller more "show worthy" chickens and go with the tried and true when it comes to egg production, personality and heartiness.
So why do we not use heat lamps...For starters, chickens aren't humans. What feels cold to you, isn't cold to them. Where our body temperature is typically around 97-99*F, chickens naturally run 104-107*F, making them much warmer naturally, and why I believe they actually do better in the cold than in the heat.
Because of the way their bodies are designed, chickens are well suited to acclimate to the changes in temperatures. When they eat, their digestion turns them into little heat producing machines. Their skin releases the heat, getting trapped around their bodies between the skin and their feathers. You will often see chickens poofing their feathers up in the winter and that is to keep the warmth close. On extremely cold nights, you can give your chickens extra food to increase their metabolism and help them stay a bit warmer. I've heard it said that chickens are "little fuel furnaces wrapped in heavy winter coats" and that pretty much sums it up.
Because chickens are able to adapt so well, putting a heat lamp in can cause several issues. First and foremost is the dangers of it. In 2017, when we were first starting with chickens, we had a small outbuilding that used to be a kids playhouse back in the 60s.It was super cute and had great rom for baby chicks. We had a heat lamp that we felt was chicken proof. It was well secured as to not fall and since all we had were chicks that were a few weeks old, they couldn't fly. We were wrong! The full story is here but the short story is that the heat lamp overpowered the wiring in the wall, starting a fire inside the walls of the coop. I managed to save all the chicks but inhaled a lot of smoke in the process and the coop was a total loss. We learned a lesson that day and fortunately all we lost was the coop in the process! If you go to Pinterest you will find a whole Pinterest board of well meaning people who love their chickens and made a huge mistake by using heat lamps.
Another issue with heat lamps is that it doesn't allow the chicken to adapt to the temperatures naturally. If a heat lamp bulb goes out in the middle of a cold night, you risk losing the entire flock because they weren't adapted to the temperatures. By allowing our chickens to do what chicken bodies are designed to do, we have managed to take our entire flock through the extreme temperatures of the last few nights, including one that reached -41*F!!!!
Something else that surprises people is that we no longer provide water to our chickens most of the time. I know that a lot of people say that their chickens hate the snow but we have found the opposite. If we leave a waterer in the coop, the chickens won't go outside at all during the winter. We believe the chickens NEED the sunlight, especially here in the great white north were sunshine is such a rarity in the winter, and that if we don't provide water inside the coop, the chickens will naturally go outside and eat the snow, thus getting all the "water" they need as well as some sunshine. We also found that if the waterer is put outside the coop, the chickens typically will still eat the snow instead of drinking the water, which led us to the idea to not put a waterer at all, as long as fresh snow is available. Water and cold temperatures inside a coop can actually cause problems for chickens and create a more perfect environment for frostbite. When you combine the moisture from the chickens droppings as well as from them breathing, having extra moisture from water can be detrimental. I know that in our chicken coop, even the cleanest bedding can get pretty drenched from the waterer!
One last tip for keeping the chickens warm is to NOT clean out their coop frequently in the winter. This method, known as the "deep litter method" allows you to clean the coop in the late fall then not again until the weather starts to warm up. You will continue to layer fresh litter (whatever your choice for that is. We simply use pine flakes fro Tractor Supply) every couple of days (or as needed) on top of the old litter and droppings. As the droppings and flakes decompose, heat is released, raising the temperature inside the coop by a few degrees over that of the outside. That temperature change is all that is needed. The best management of deep liter method is to turn the litter every few days so that air is getting into it and helping to break it down. The chickens will do a great job of this if you throw meal worms or chicken scratch down as well, but they can't do it all alone!
So that is a quick rundown of how we deal with chickens in the winter. Other ideas that you may need to look into depending on your situation are to create wind breaks, insulate the outside of the coop with hay bales (NEVER inside) and to check for any drafts. Our coop hasn't had a need for any of this at this point so they aren't areas I will be discussing in this post. Our coop isn't pretty. It's an old shed that has some nesting boxes for eggs and some roosts on the wall. No fancy lights (which we will talk about in the future), no cute little chandeliers. In fact there isn't even electricity in it, unless we run a huge extension cord. It's minimal but functional and our chickens are happy and protected!
Lastly, remember that heat rises so make sure that you provide your chickens with plenty of roosting places up high for them to get as high up as possible.
I'd love to hear how your weather is and any other ideas you may have that you use with your flock!
This is a story from last year but I thought I would share it so that others can see what is part of the process that we can sometime go through. While most of our animals eventually become food for us or others, we go to great links to save their lives and to give them the most love that we possibly can.
________________________________________________________
February 26th, 2022
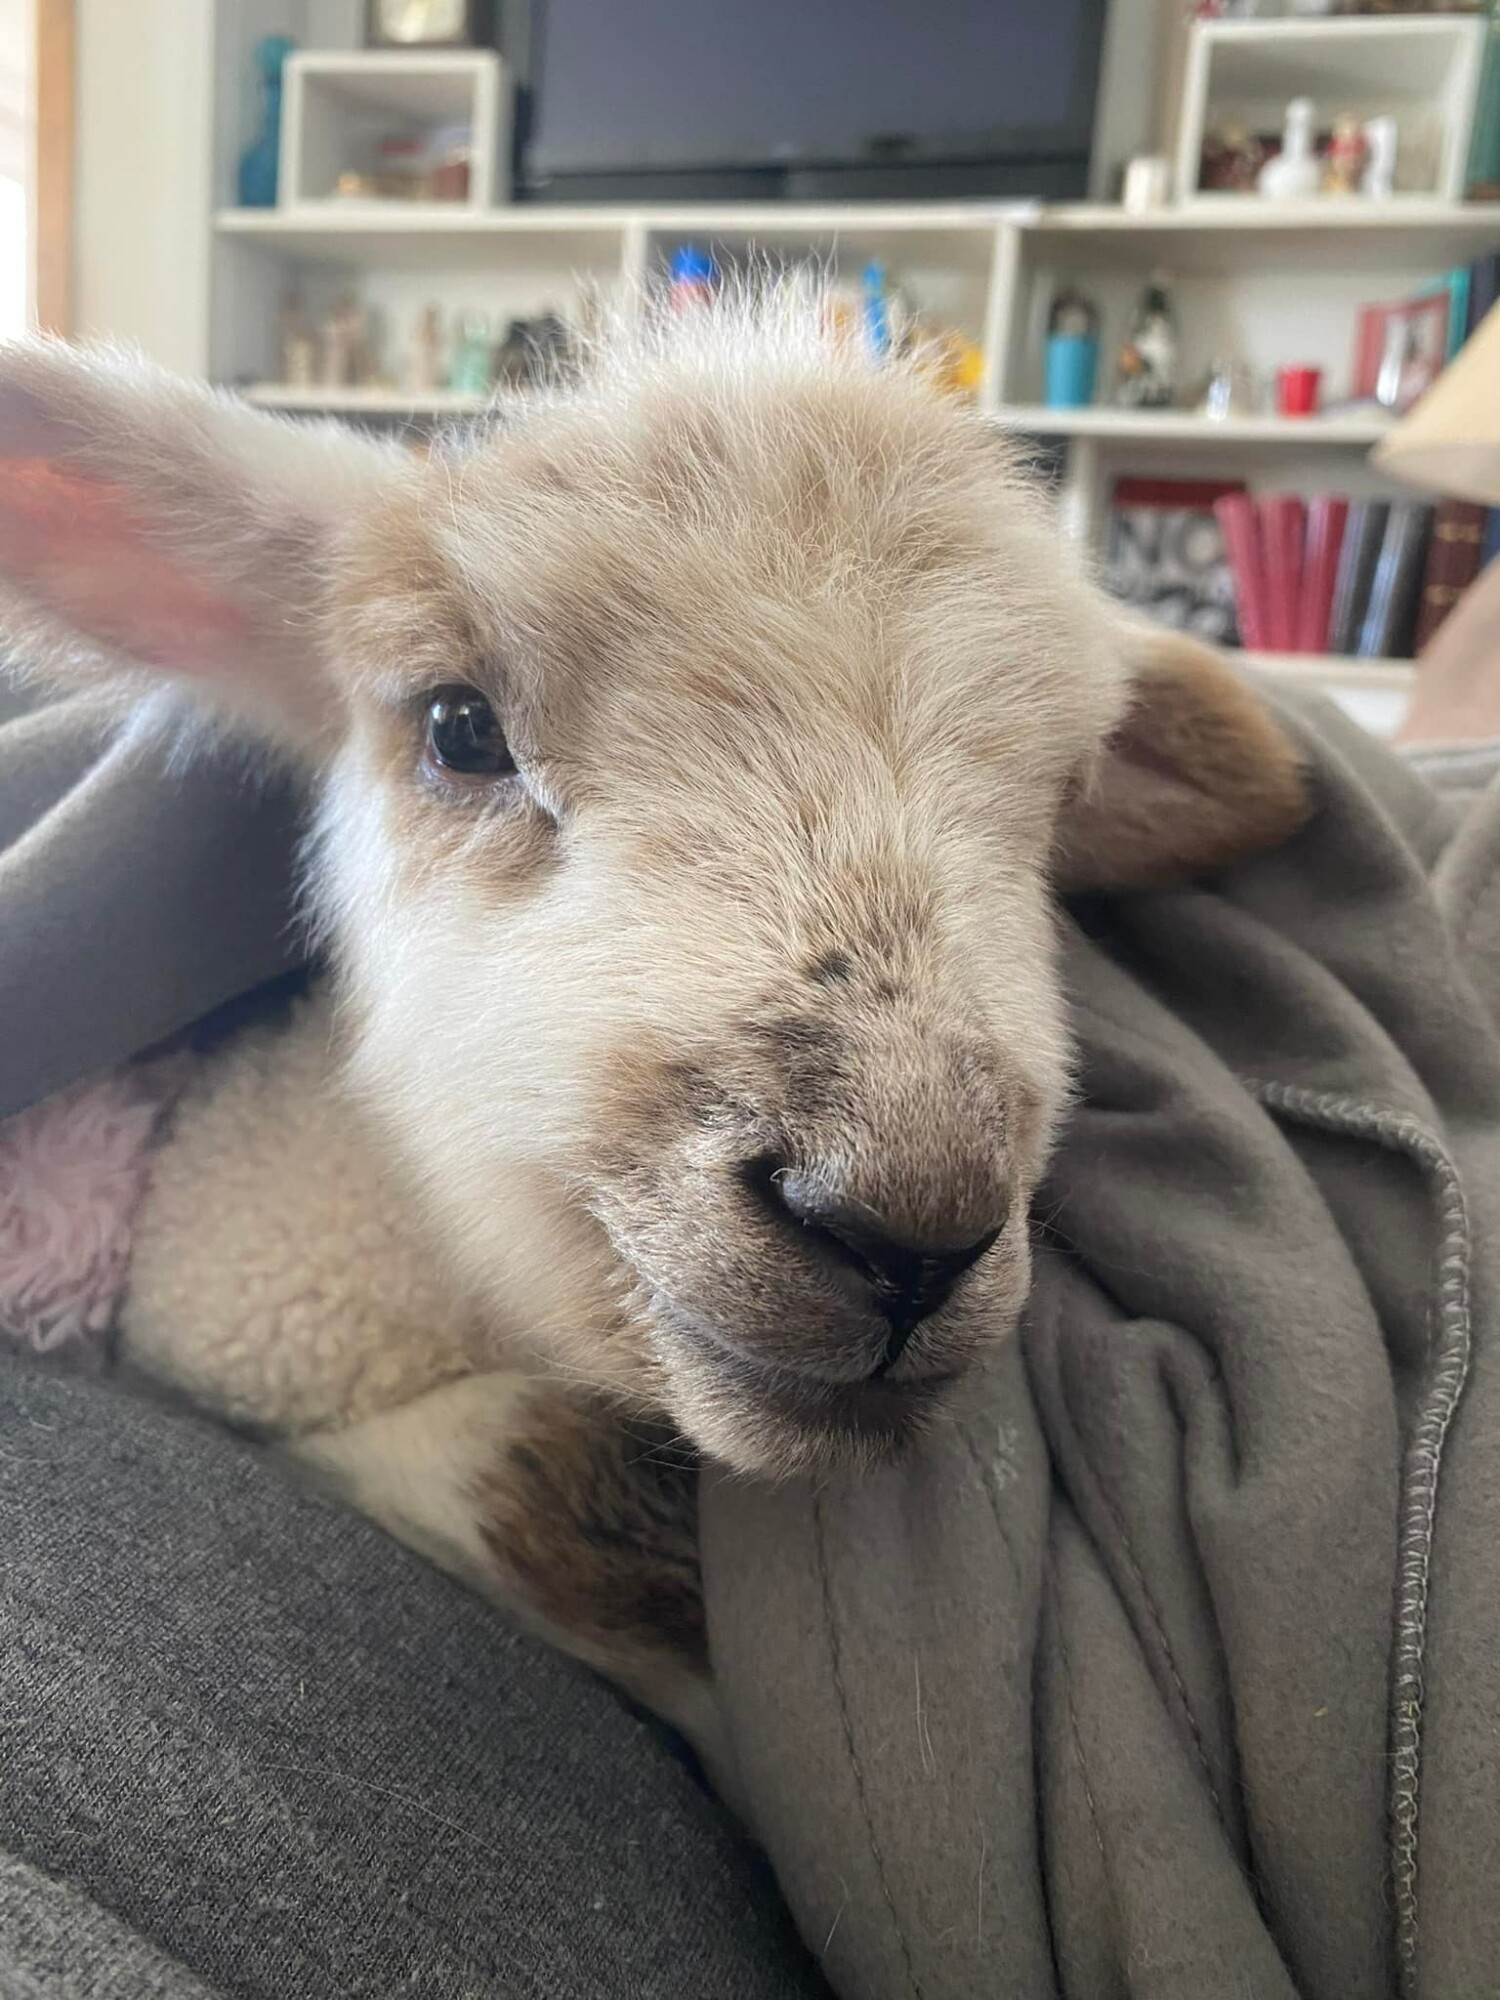
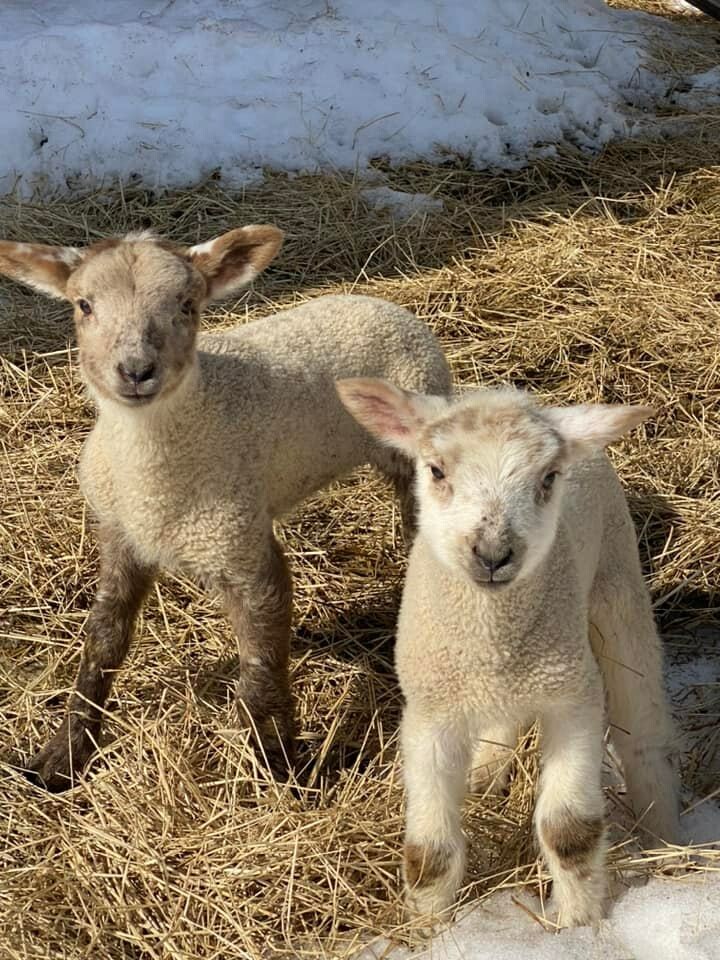
What a scary morning! I went out at 2am and again at 8 to feed the newborn sheep. This momma sheep doesn't usually do a good job with nursing and caring for her babies, but I'm always hopeful that she will switch into mom mode and do a good job. At 8am the little ram wasn’t acting right but he really just acted like he didn’t want to eat so I thought maybe he had been nursing some and just didn’t want the bottle. I did some errands and came back to check on them and feed them again at 11:30 and his little body was cold and listless.
What a scary morning! I went out at 2am and again at 8 to feed the newborn sheep. This momma sheep doesn't usually do a good job with nursing and caring for her babies, but I'm always hopeful that she will switch into mom mode and do a good job. At 8am the little ram wasn’t acting right but he really just acted like he didn’t want to eat so I thought maybe he had been nursing some and just didn’t want the bottle. I did some errands and came back to check on them and feed them again at 11:30 and his little body was cold and listless.
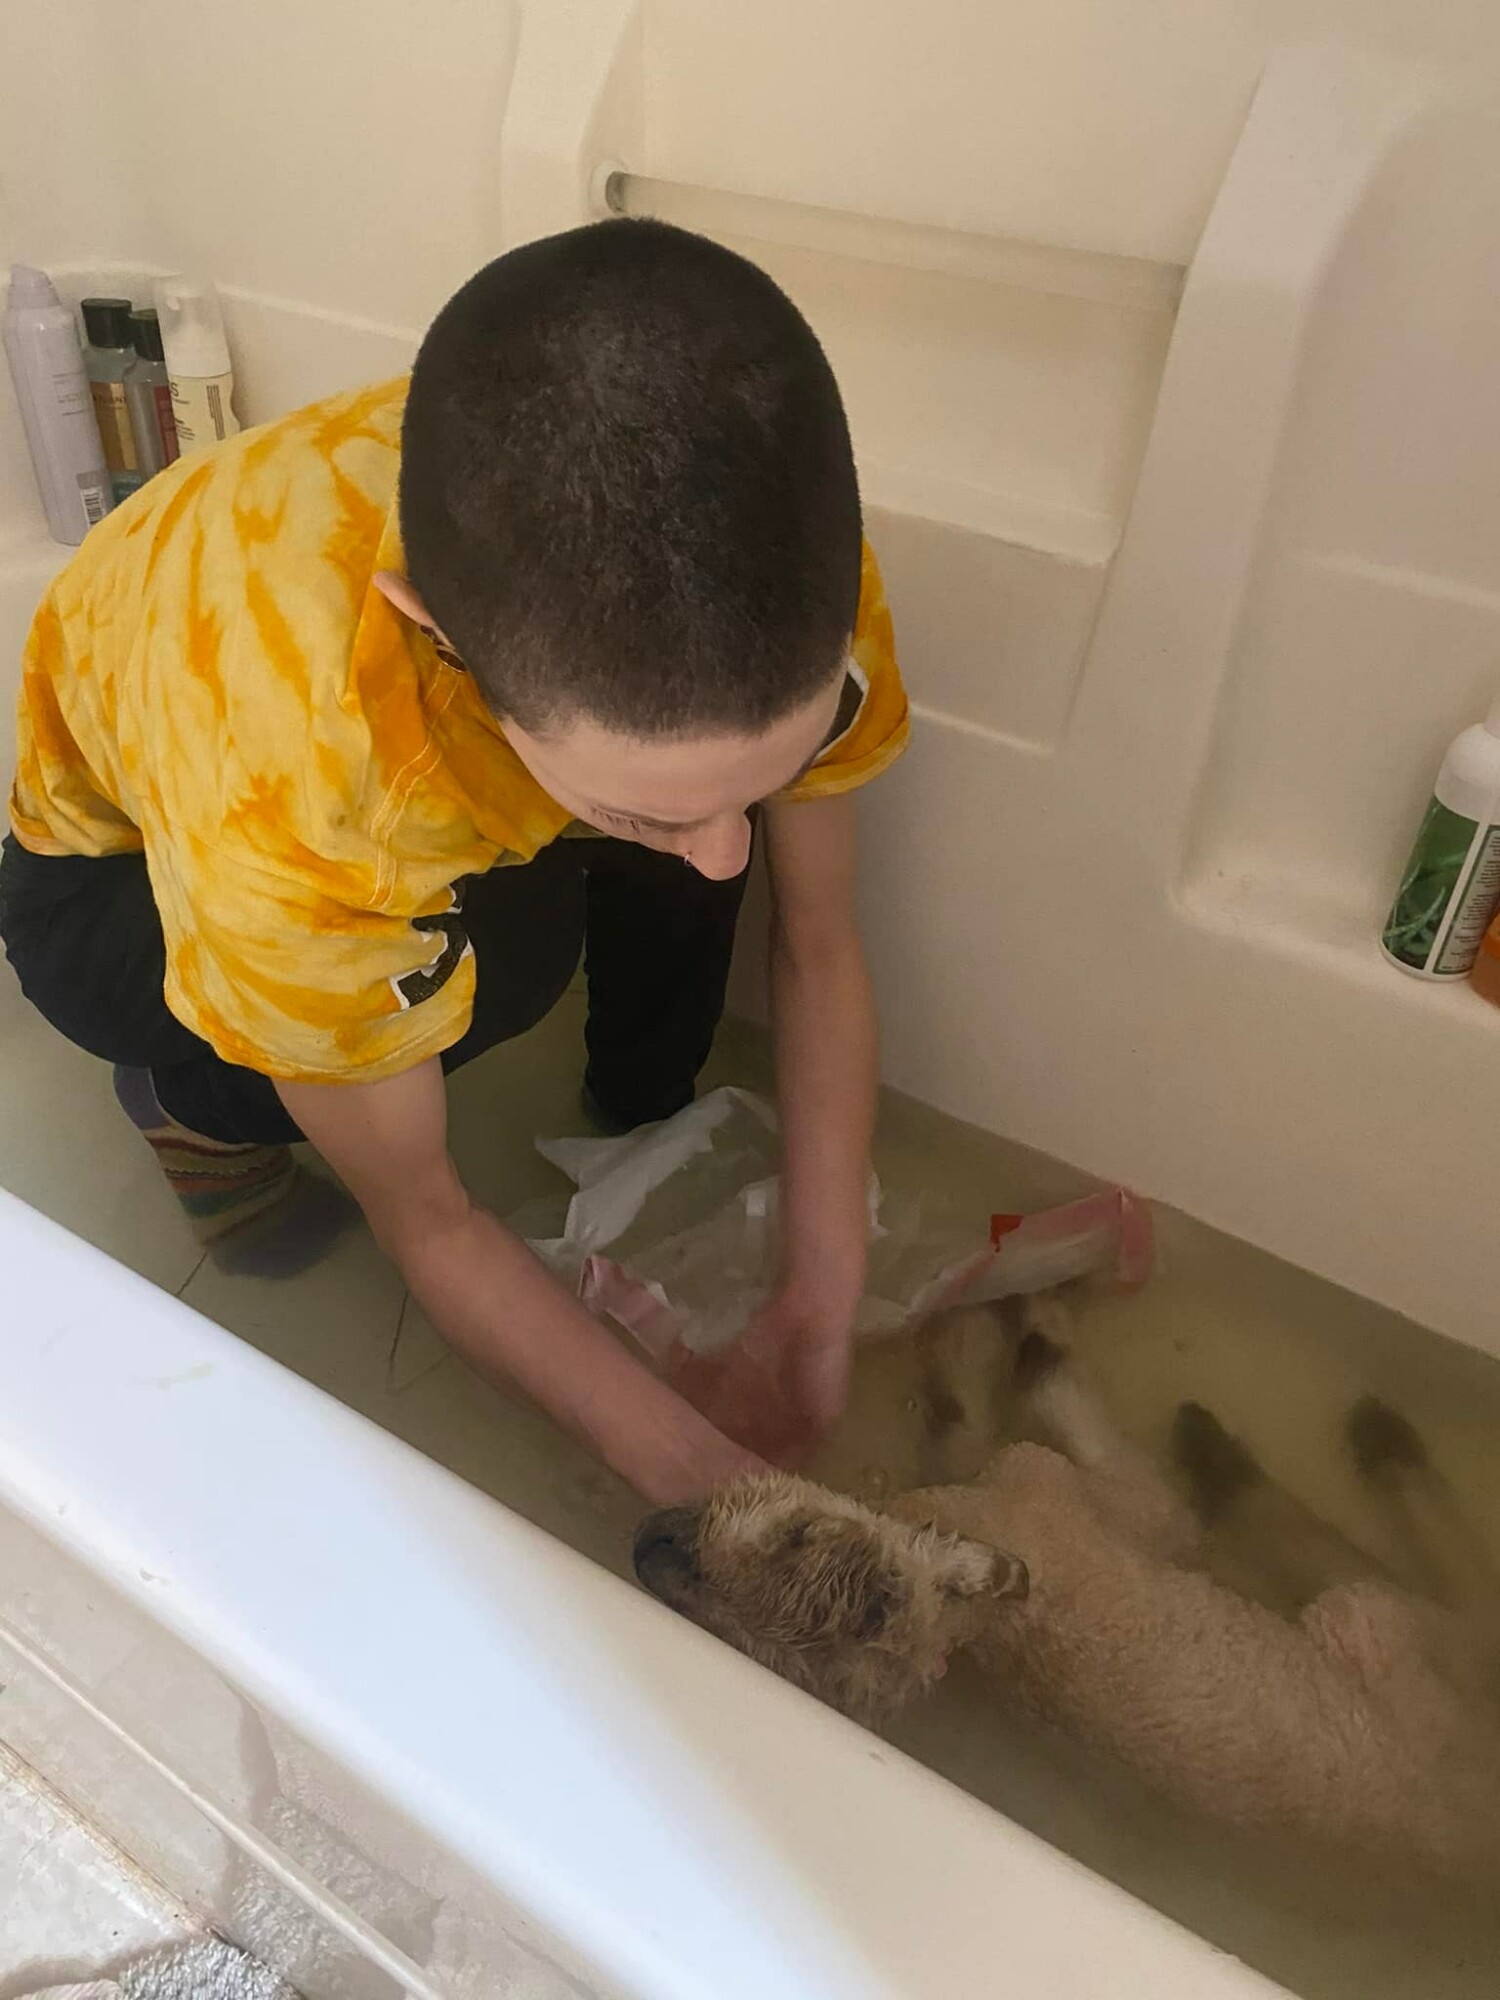
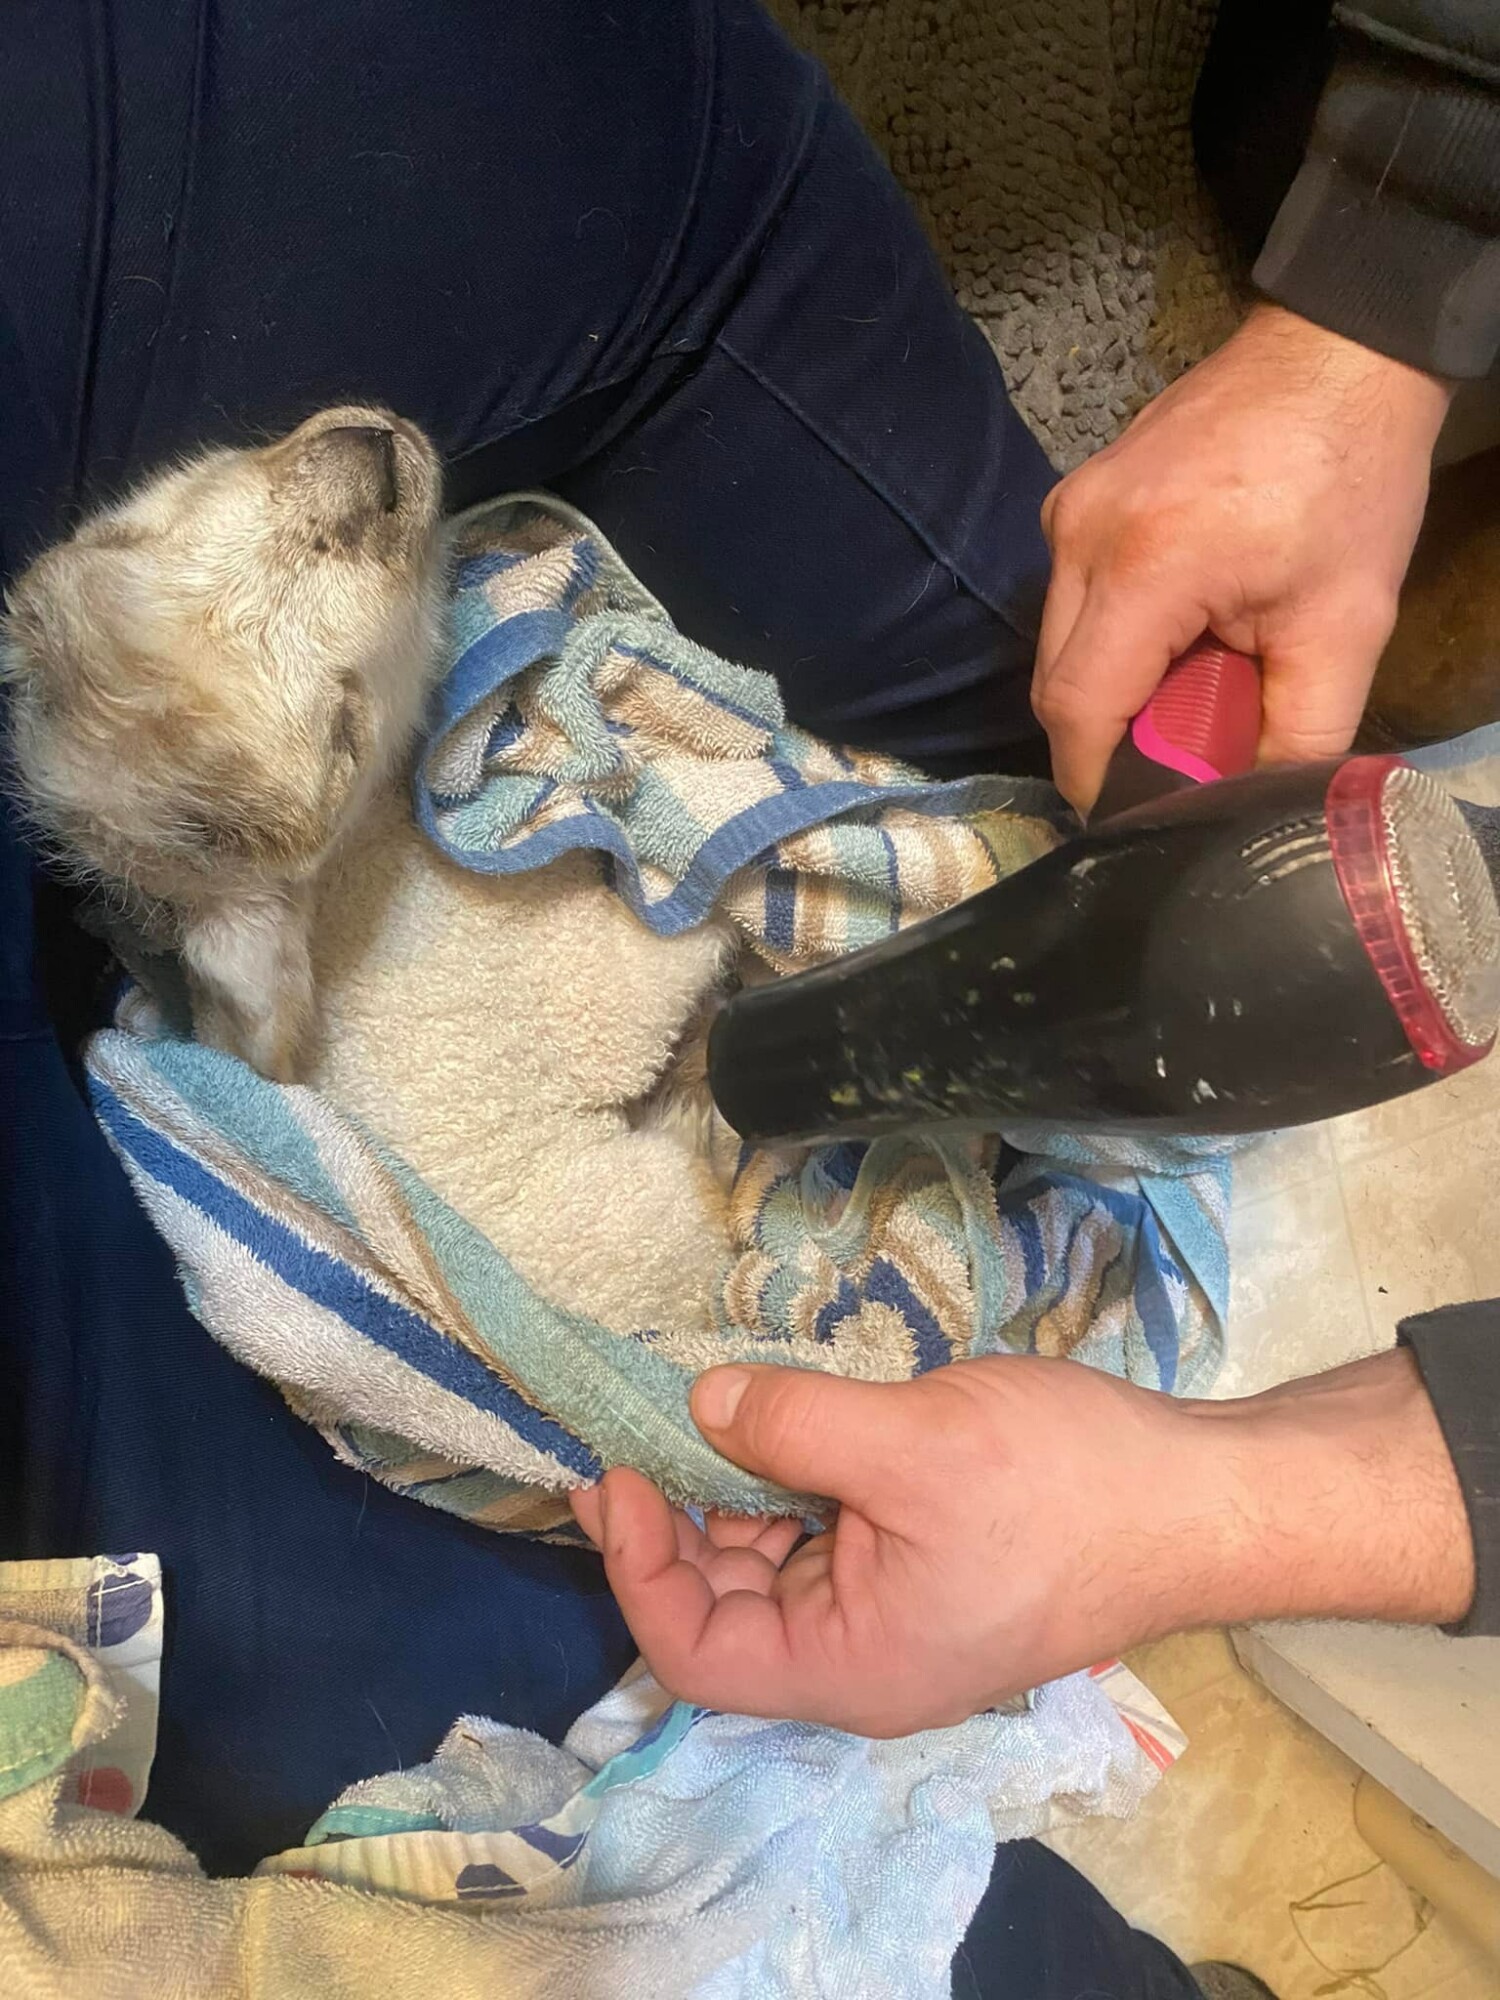
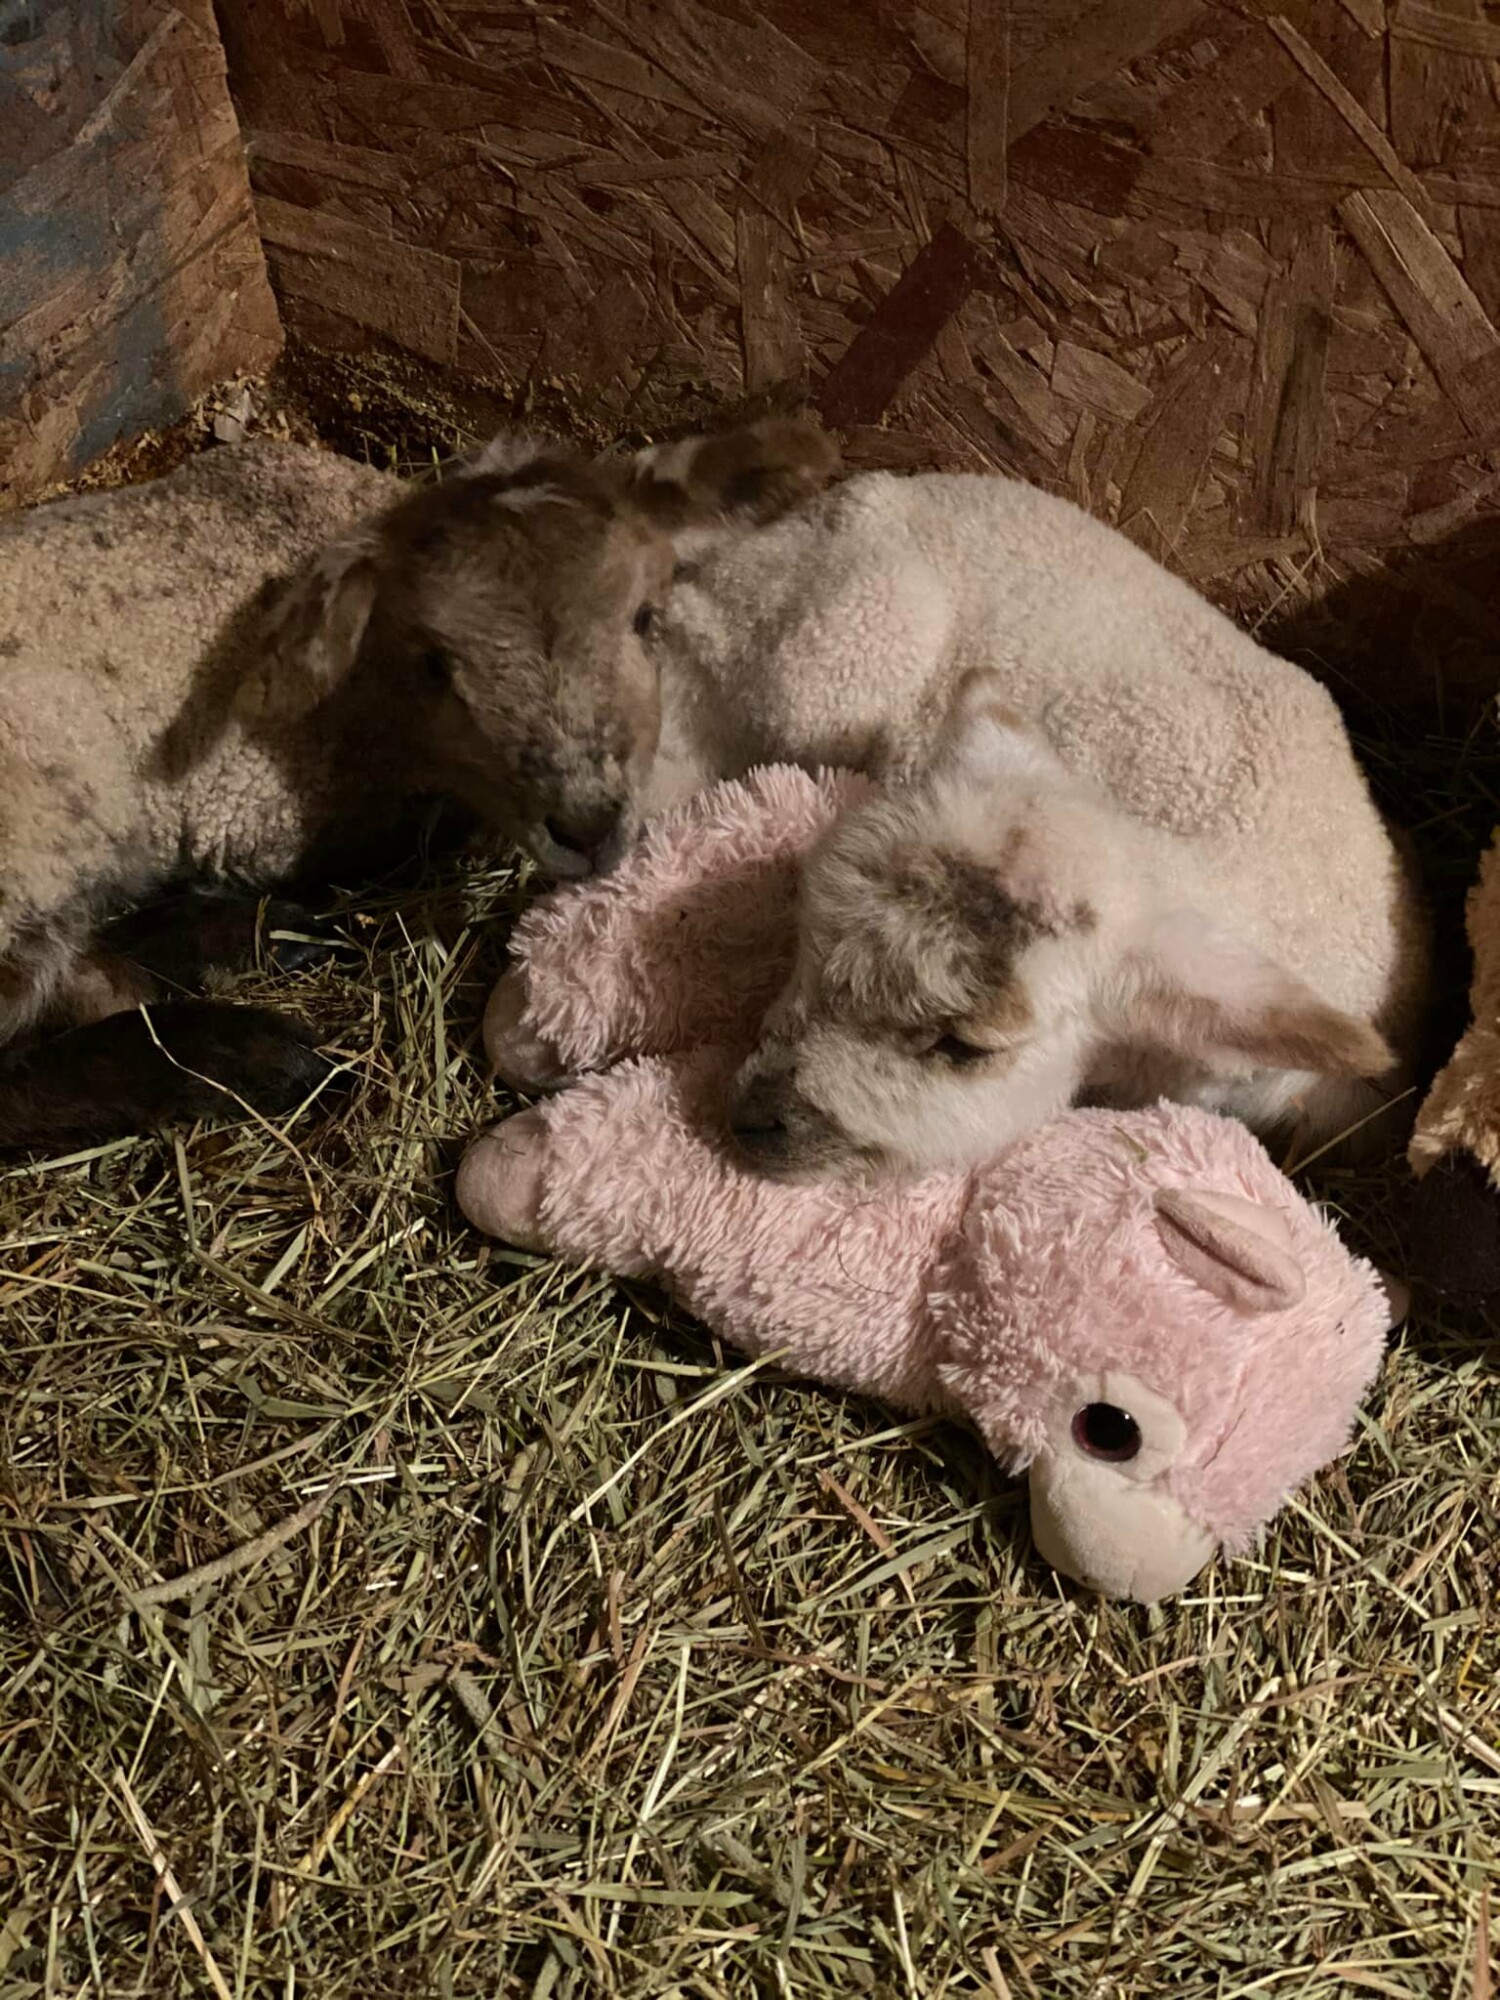
We raced both babies into the house and instantly started warming him. I put him inside a plastic garage bag with his head sticking out and put him in a hot bath. He was tanking quickly and we made the decision to take him out of the bag and submerge his whole body up to his neck. I know a lot of people frown on this but we felt desperate and the bag didn’t seem to be working. After about 30 minutes we took him out and dried with towels and a hairdryer. His sister came in to check on him and laid down next to him, like she needed to help him. She put her face and body next to his but left her booty sticking straight up in the air. She wouldn’t lay down completely. After we got him warmed up some more and saw a bit of life coming back we got a microwaveable stuffed animal and put that next to him and wrapped him in an electric blanket. He and I sat on the couch for the next 2 hours, working on warming him more! What a relief when he started moving his head to look at me and started moving his legs like he wanted to stand.
 |  | 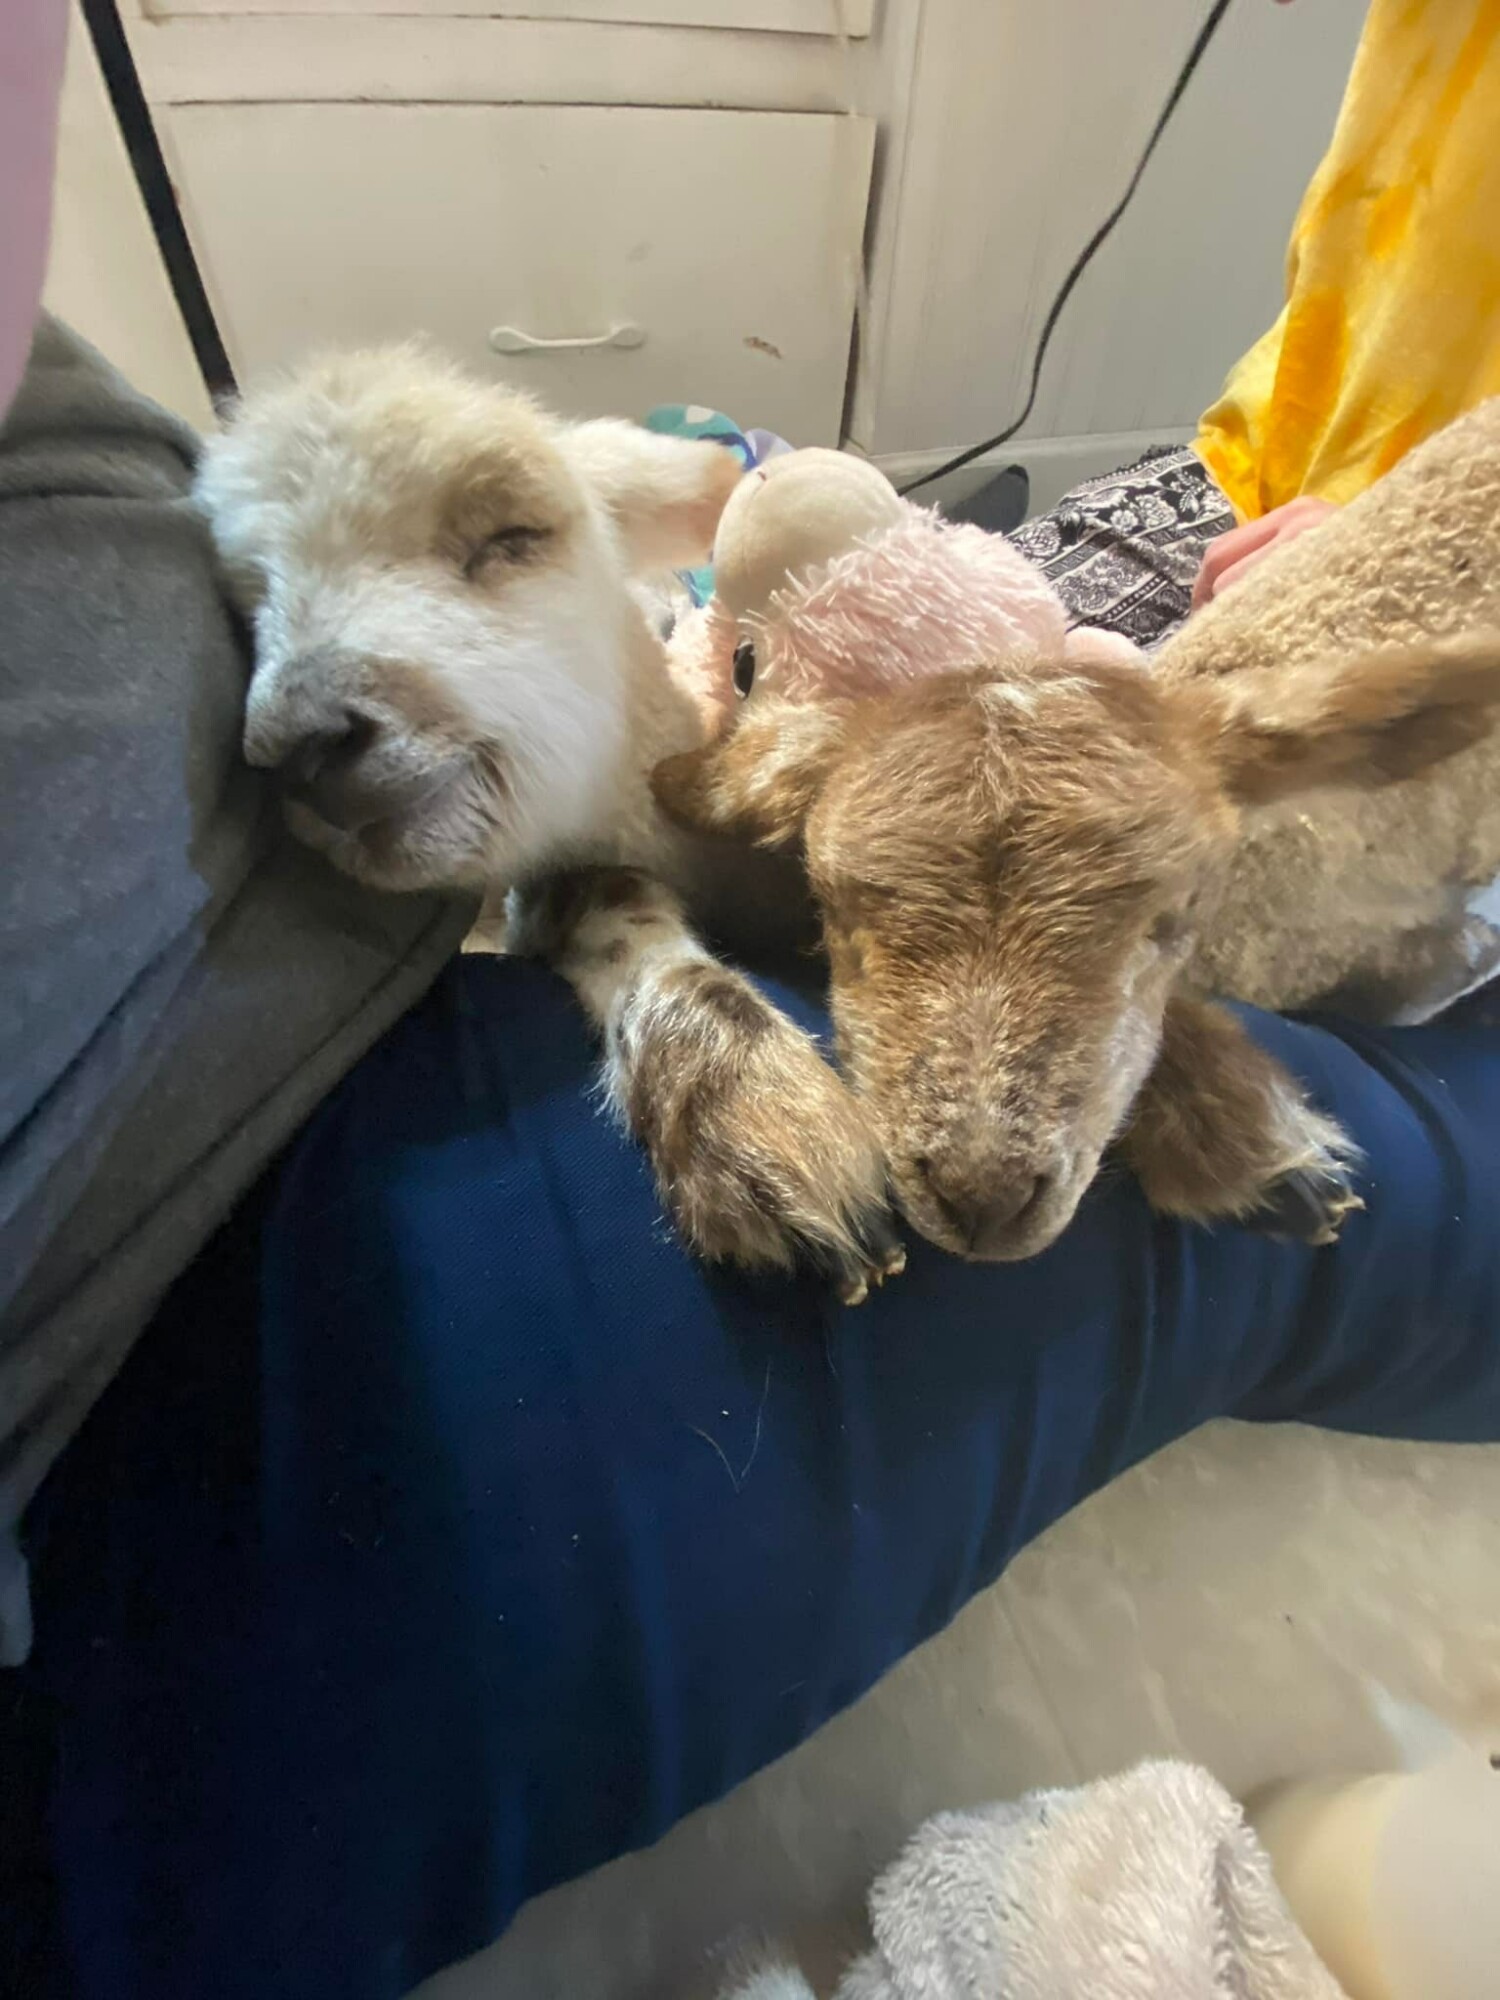 |
This was an “all in” moment! It took lots of hands and several hours to save this sweet boy! It’s amazing because when they were born yesterday morning, he was the stronger of the 2 and his sister appeared weak and frail. What a difference 24 hours brings! His sister is a spitfire! She eats like a champ and is very energetic.
 |  |
It was a long day of “wait and see”. I spent most of the day on the couch with Finn in my lap, covered in heating pads, electric blankets and microvwable stuffies. He would get warmed up and have energy and want to move around but after an hour he would start to go back down hill. Electrolytes and NutriDrench were his best friend because he didn’t want to eat much.
At 3am I got up to check on both of them and he gobbled down several ounces. At 8am he ate another 5oz and 2 hours later he took another 6!! We were so grateful with how well he is doing and felt like we were finally starting to get out of the woods.
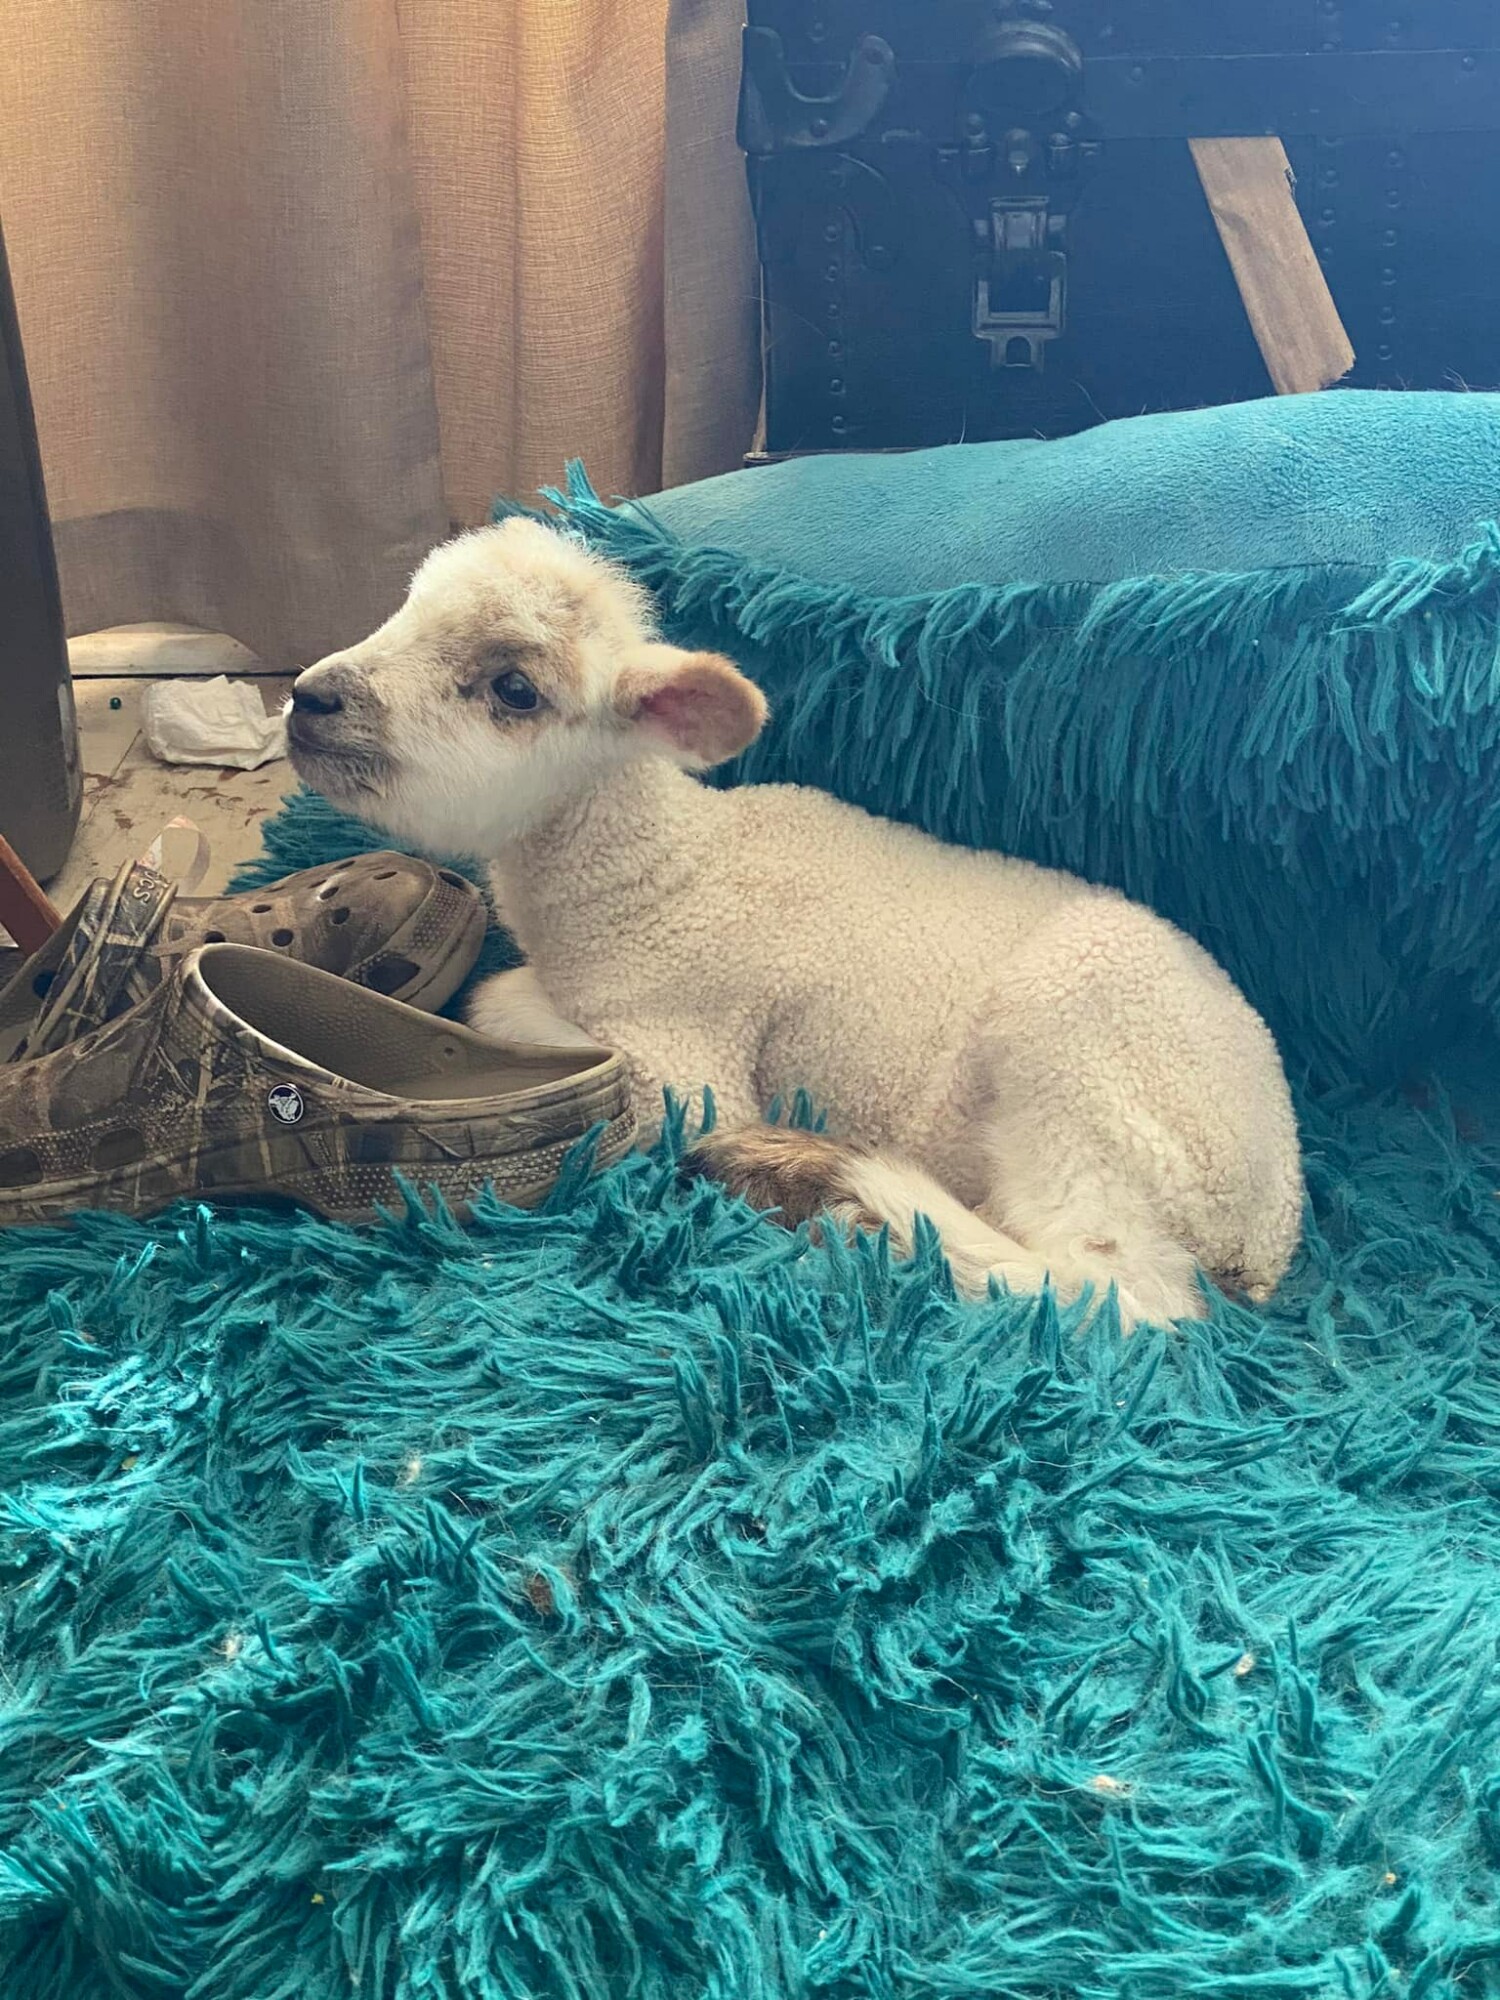
We will NOT be putting them back out with their mom. While we had big hopes for her this time, she seemed like she was going to do a good job. She acknowledged them and cleaned them, unlike her baby from last year that she completely abandoned. Now she just seemed very aloof and was standing with her rear in the corner so they couldn’t really get to her to nurse. For the next several weeks they were in a large caged area in the corner off my kitchen. This kept them warm and safe but also make it easier for feedings. I'm not goin to lie, I love when I have sheep in the corner of a room. It's so much fun to see their excitement when we walk in there to give them lovings.
 | 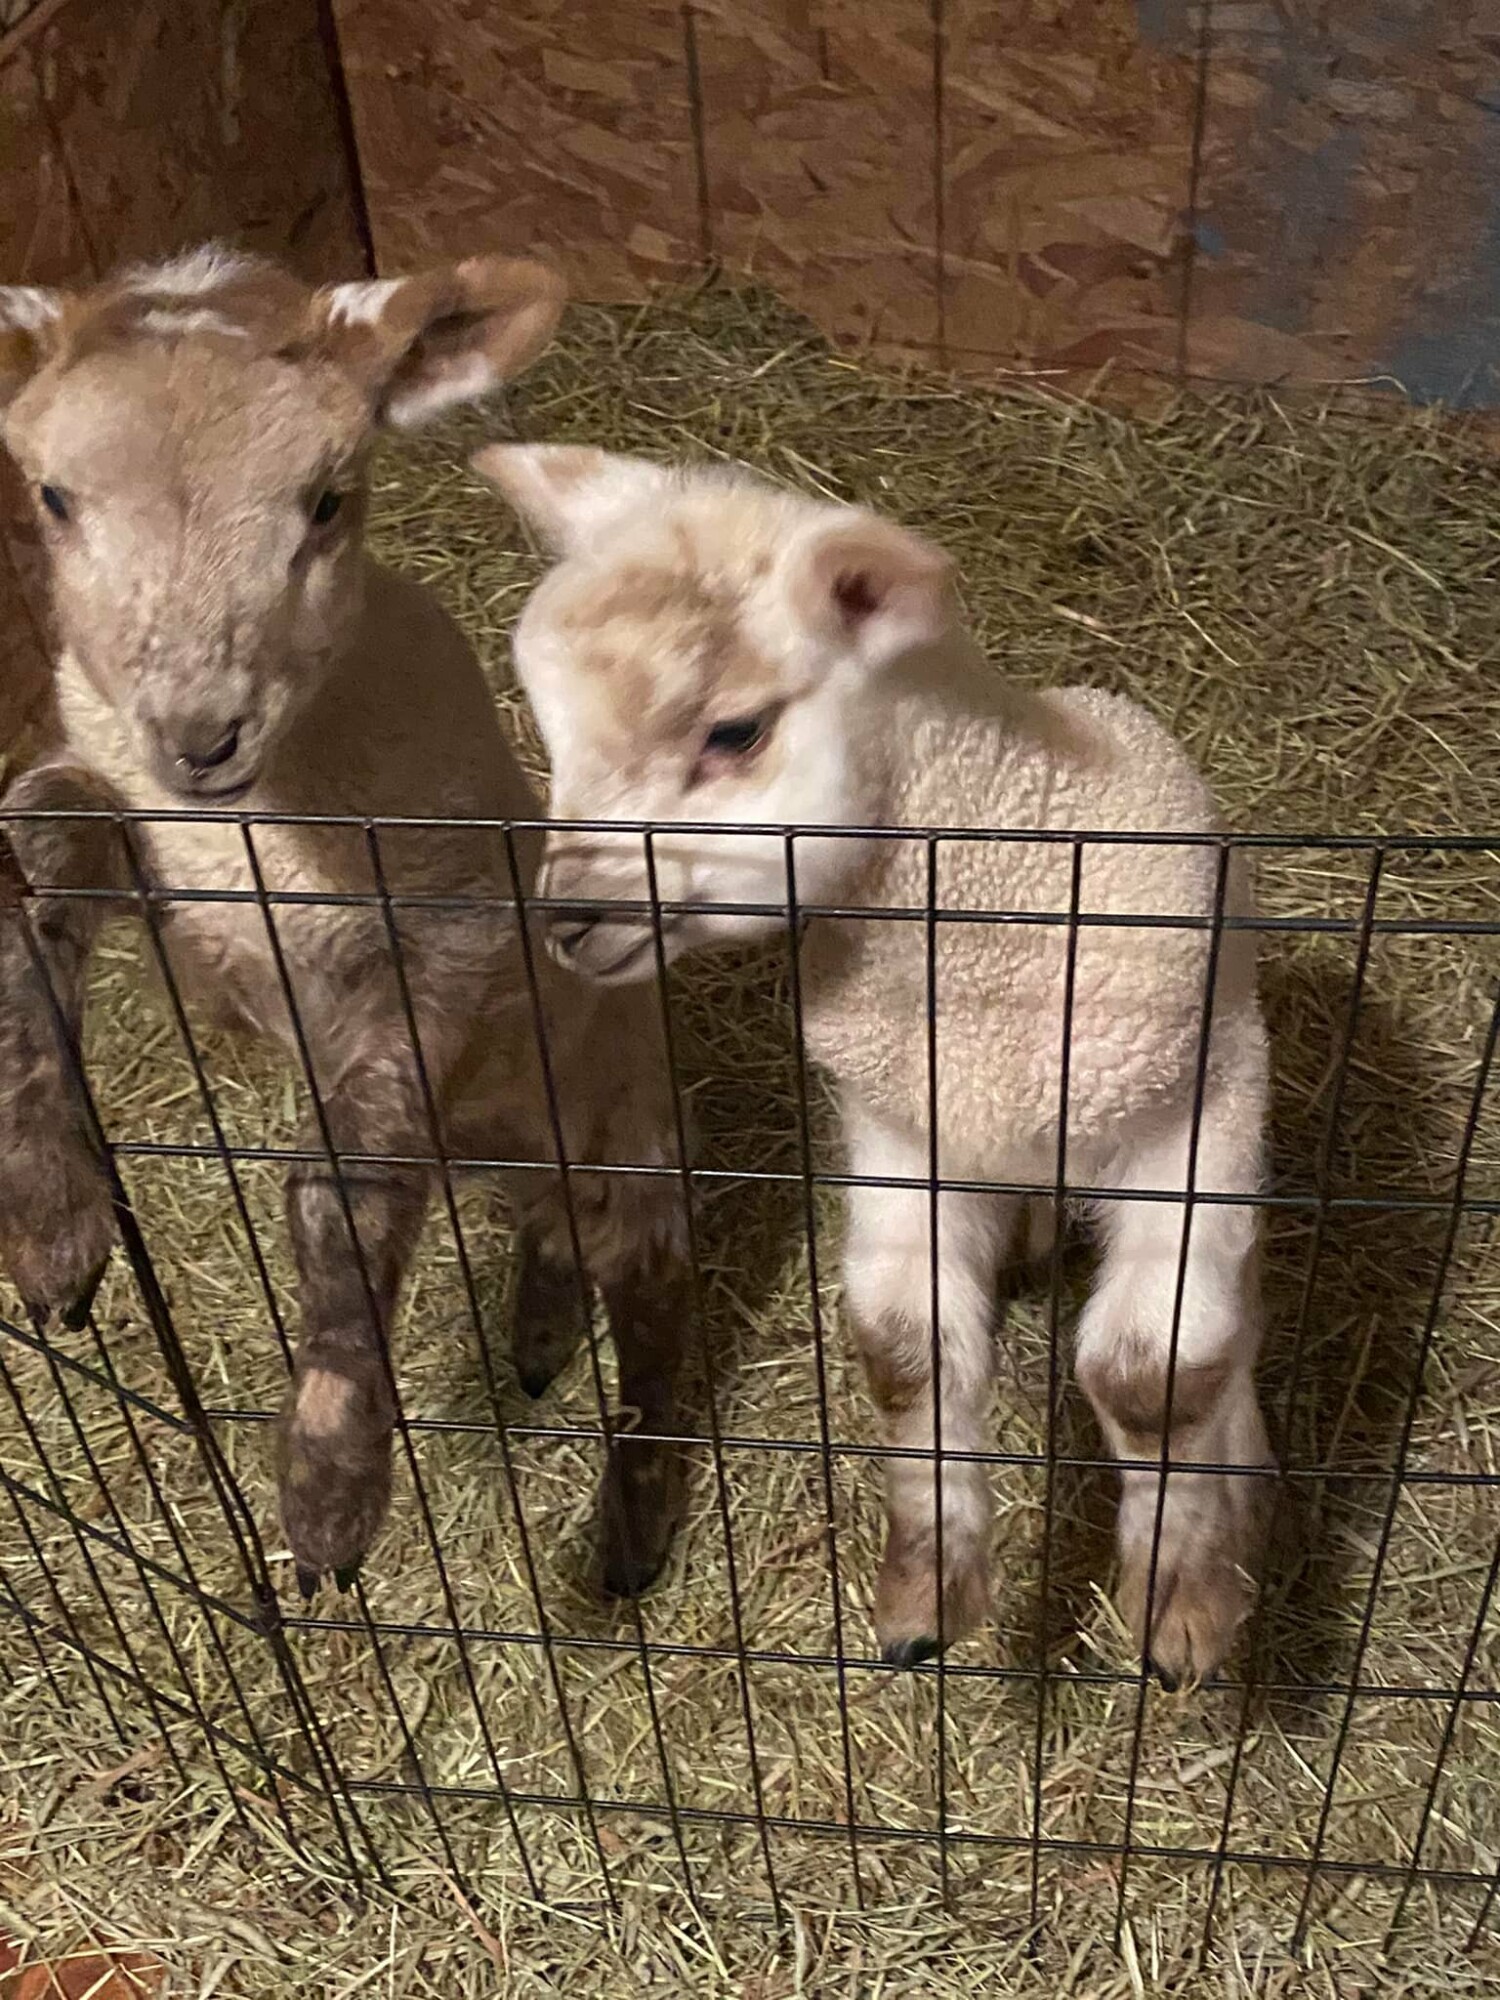 |
Once the babies were strong enough, we got them outside with the other sheep for introductions for short periods of time. They loved the snow and bigger spaces and were running around and jumping all over the place like a young kid who was in the first snow of the season.
 | 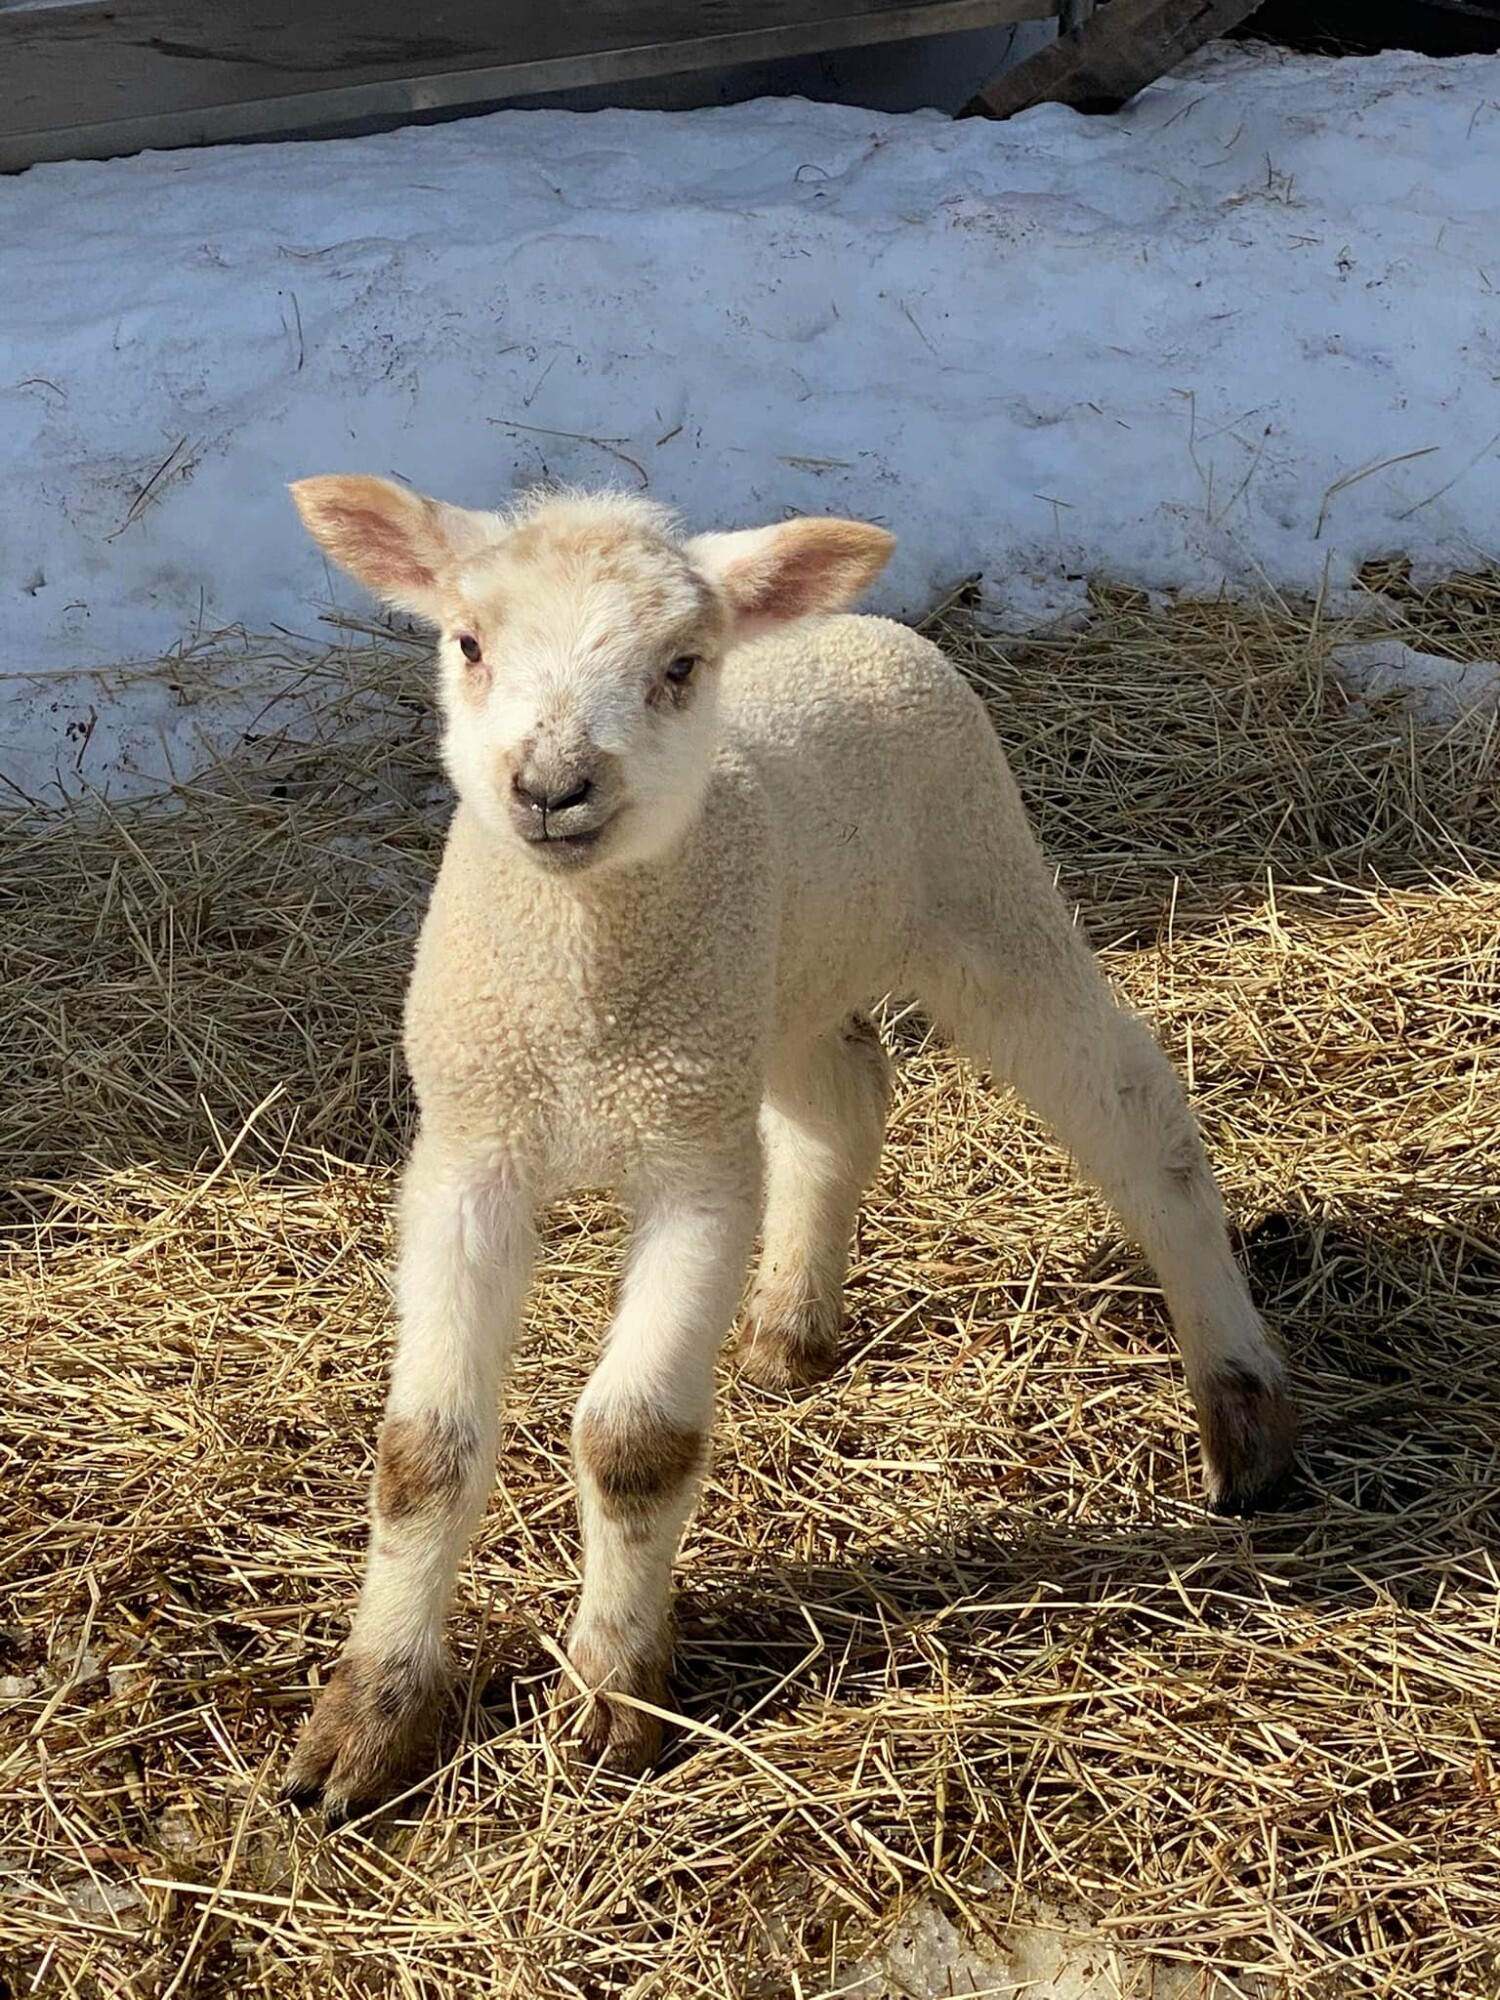 |
Finn got big and strong and went on to a new farm with a new group of ewes for him to love and chase. He was a beautiful little ram with a will to live and a strong desire to be loved and cuddled. We gave him everything we had in rescuing him and getting him back to health, just as we do with all our animals. Animal husbandry doesn't always have a happy ending, but in this case, we had a great outcome!
 In today's culture and economy, it seems like more people than ever are wanting to move "to the sticks" and create a homestead. The idea of a bit of freedom and independence is appealing. Being able to raise their own food free from chemicals and contamination, lower their overall cost of living possibly homeschool their kids is like a dream to them! For me, I dreamt of waking up to the sounds of sheep bellowing from the fields then running to me with bells jingling around their necks. I imagined roosters crowing and chickens frantically pecking the ground, while I sat in a hammock in the sunshine sipping my morning coffee or worked in my garden with my hands and bare feet in the dark, rich soil.
 I'll be honest, we did it ALL wrong! We jumped in head first and ended up way OVER our heads. We were working with someone local who made us feel like in order to be a "proper" homestead", we HAD to do all these things. We had to have a big garden, chickens, sheep and pigs. We had to clear pastures and start some meat chickens. We needed to can our garden goods, learn to can chicken and to preserve meat by hanging it for months at a time. We needed to DO it all to HAVE it all. And so we tried. We jumped in and go the sheep, got a couple pigs, lots of chickens and meat chickens. And we struggled and felt like we were suffocating in our new way of life that was supposed to be freeing and peaceful. We spent massive amounts of money on feeding these animals and caring for them, digging ourself a bit of a hole both financially and emotionally. We were exhausted!
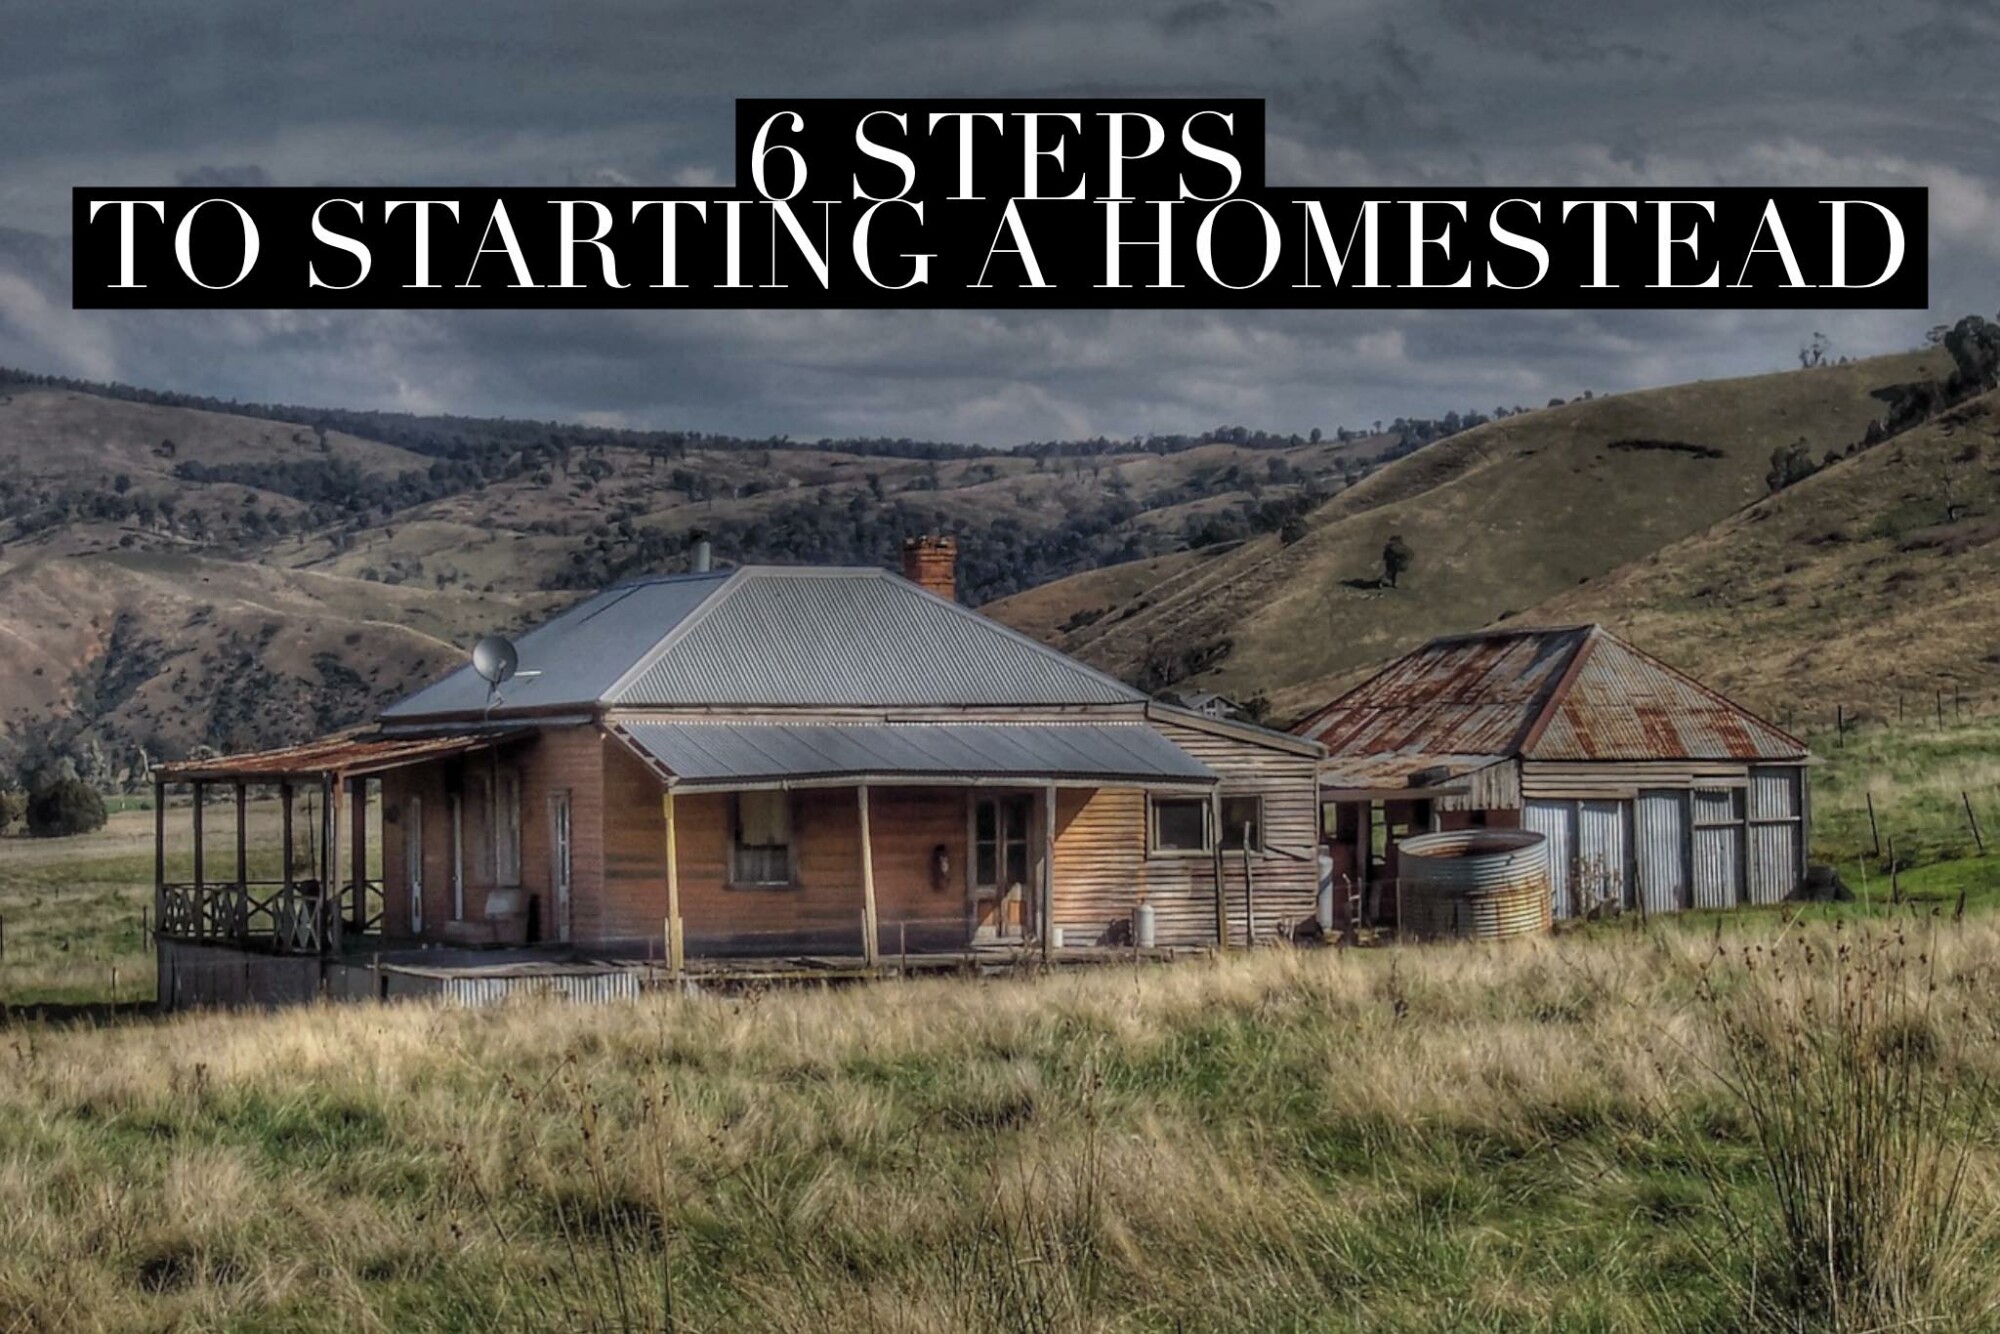
But what is involved in creating this dream of owning and operating a homestead? In this article I'm going to walk you through the first steps we SHOULD have taken! Learn from our mistakes.
1. Dream
Dream small. Dream big. Dream of all the possibilities. Dream of what could be. Dream in fantasy land and also in reality. But dream! Start to create ideas of what you think you might want on your homestead. Visit Pinterest and Instagram and start imagining your life in your new homestead and land. And then come back to reality and prioritize...
Dream small. Dream big. Dream of all the possibilities. Dream of what could be. Dream in fantasy land and also in reality. But dream! Start to create ideas of what you think you might want on your homestead. Visit Pinterest and Instagram and start imagining your life in your new homestead and land. And then come back to reality and prioritize...
2. Prioritize
What are your "must haves" on your homestead? Do you want a big white farm house with gardens and a river and maybe a big red barn? Classic! Do you want a cabin in the woods where all your animals and garden are kept close on just a couple of acres close to the house. Cozy! Or do you want something somewhere in between? Do you want gardens and animals? Do you want to live on or off grid? Find out what you are wanting and then prioritize it. This is an area we did all wrong! We tried to get everything started at once. We got a few laying hens from a friend, started our garden and were convinced by someone else that we needed sheep right away! She told me that they'd be great for meat but also that I could use the wool. My dream of spinning wool failed when I realized I don't know the FIRST thing about it and I simply didn't have the time to learn right now in my life with working full time and all the events that go along with 4 kids in college and one in a music program at college. Games, concerts and activities overtook my time to learn spinning and knitting. But it was too late...I already had the sheep. Then someone convinced us we needed goats. The milk alone would be great, right? WRONG TIMING again! We threw up some quick shelter and fences and got our goats. They were phenomenal except for the doe got pregnant and no one told us that male goats STINK! But we were doing what everyone told us to do instead of taking the time to prioritze what WE wanted with our property and homestead.
Now, I always tell newbies to start with one thing and perfect it. We didn't do this! Remember, we jumped in head first!! Start with a garden. Keep it to vegetables and produce that you actually will eat, not just items that think you should grow. For me, I HATE zucchini and squash but for some reason, I continue to grow it. And when I'm overwhelmed with piles of them and giving them to every person I come across, I yell at myself for planting them.....and next year do the same thing! Don't be me! What vegetables do your family like and eat the most often? I grow tons of corn because we eat it often from our garden and it cans well for the future. Potatoes, tomatoes, beans, peas, onions and garlic are also must haves in my garden space. I've done brussel sprouts several years in a row but haven't perfected them...YET! I've tried peppers and this was the first year I'd succeeded with them and will tell you all about that in another post. Learning to prioritize will help keep you sane on this journey!
3. Get to know other homesteaders and gardeners in your area.
These can be a huge resource for you as you learn. They also will have things that they do really well and you can purchase those things from them instead of doing them all yourself. I don't have time right now to learn soap making, so I found a local lady who I buy all my soap from. I also don't have time (or energy) for a dairy cow at the moment so can purchase my milk from someone local as I choose. Creating a community is important when you are learning and living this lifestyle. I know that many people who move to a homesteading life want some isolation and solitude, and you can have that, but community is also important and finding just the right people will create so much more joy on the journey you are embarking on.
These can be a huge resource for you as you learn. They also will have things that they do really well and you can purchase those things from them instead of doing them all yourself. I don't have time right now to learn soap making, so I found a local lady who I buy all my soap from. I also don't have time (or energy) for a dairy cow at the moment so can purchase my milk from someone local as I choose. Creating a community is important when you are learning and living this lifestyle. I know that many people who move to a homesteading life want some isolation and solitude, and you can have that, but community is also important and finding just the right people will create so much more joy on the journey you are embarking on.
4. Do one thing and do it well!
Start your garden or start raising a few chickens and perfect it before moving on to something else. Spend time researching your chickens and how to raise them, what breeds you want, how to keep them healthy and what do if they get sick. Make this like a job and do it to the best of your ability, before moving on to the next thing. And when you move to that, do that well too! You will find that if you jump from thing to thing, creating more and more work for yourself, you will NOT be happy.
5. Don't be a perfectionist
The one thing I learned early on is that things would NOT go according to plan. No matter how much I planned and prepared or tried to control everything, there would still be setbacks.Predators would attack. Animals would have still births or get bloat and pass away before you ever even knew they were suffereing from it. Parasites some years will be hardert o control than other years and that Animals WILL escape! Sometime I'll have to tell you about my sheep escaping and being a mile down the road at a junk yard! A garden will be destroyed by deer or rabbits or an early frost. An entire batch of canning will be ruined. The sooner I admitted that this is part of the process, the better was I was able to plan, but to also accept that we did the absolute best we could. If you are a perfectionist, you need to lay some of that down and understand that there will be things that happen that are 110% out of your control.
6. Take the time to learn
I believe that learning is a life long process and when I first started learning various ways of being a bit more self sufficient around my home, I felt like I was in over my head. If I'm going to be honest, I still have days I feel that way. The more time spent learning and researching, the better the overall project and outcome usually goes. If gardening is going to be your first step, start doing some research on your area, your gardening style and the types of vegetables and flowers you want. If chickens are your first priority, learn as much as you can before you buy that first baby chick. This will save you so much hassle.
Over the next few weeks we will be going more in depth on actual things you can do to get started with your homestead and make the process as seamless as it possibly can be. I'll see you soon with more info on how to get your homestead up and running!
